

The Laundry Room Reno Project
This room has been begging for a renovation for a long, long time. Just never got around to it. Well, our water heater went on the fritz a number of months ago and the new one that replaced it, didn't fit into the space that the old one sat in. The cabinetry that surrounded it just wouldn't accomodate the new unit. That was enough of a reason to gut the room and do it up nice. Below are a few pictures that show the room in its former "glory"? No real storage space, outdated and just plain old fugly.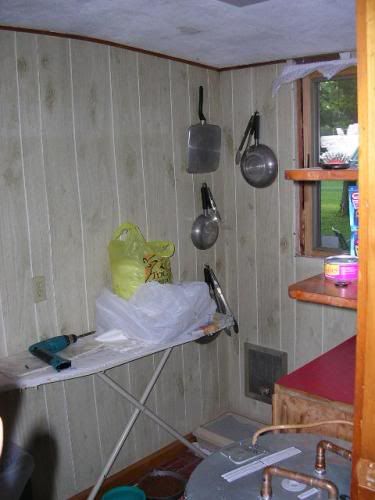
The room was gutted right down to the studs. All new walls, floor and cieling were to be installed, as well as new cabinetry that I would build in my shop. This room was very small - only about five feet by ten feet, so it was a challenge to try to fit everything that we wanted into the room.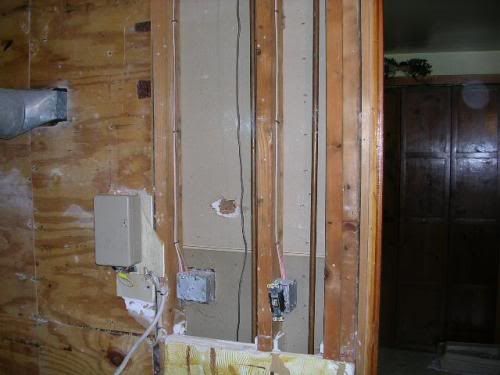
The kitchen range hood exhaust ductwork and the water heater timer were always sticking out like sore thumbs in the previous rooms, so the new rooms cabinetry would hide these two items.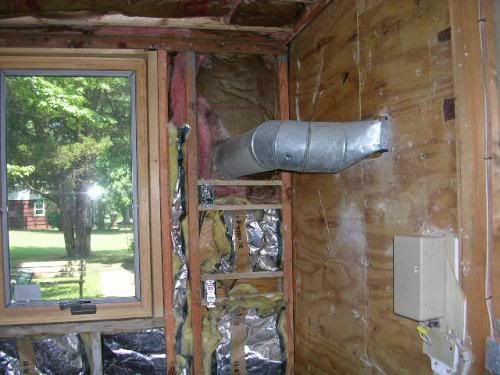
Some minor electrical work needed to be done. I had to move a receptacle box or two and upgraded some wiring, but most work involved simply the building materials, not what is behind the walls.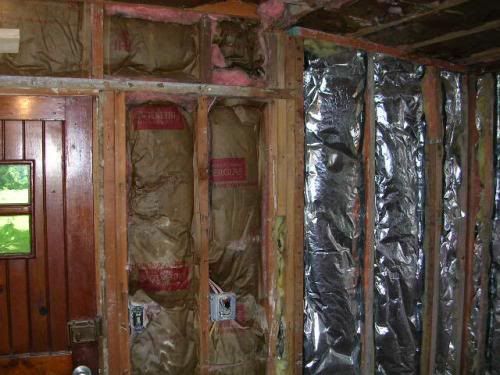
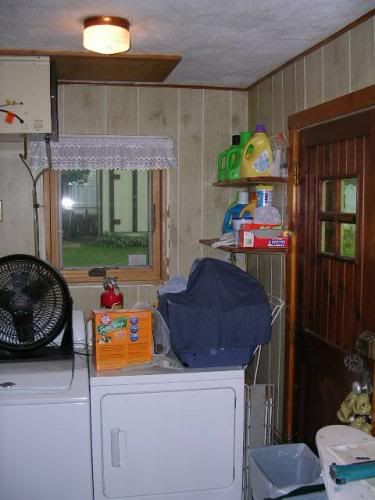
The picture below shows the South end of the room where the washer and dryer sit. The only work left needed to be done in the entire room is to trim out the opening where the ductwork from the cieling mounted whole house humidifier goes through to the living space, and to build and install some simple shelves just below that and above the washer for some clothes washing items.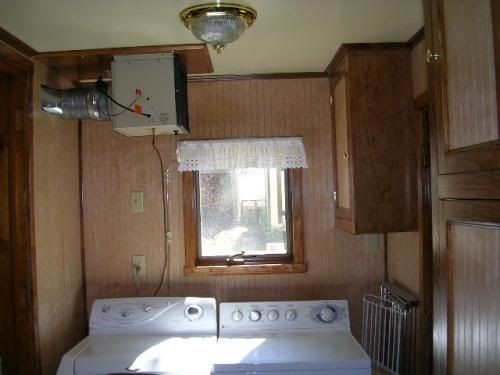
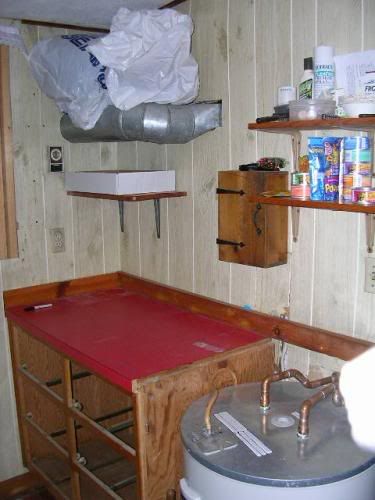
This is the base cabinet assembly that I built to once again house and conceal the water heater. I was fortunate that I was able to break down the old drawer assemblies because the glue that held them together was weakened over time and I had to make the drawers slightly narrower to fit their new accomodations. I just had to put new "faces" on them to match the new decor of the room. I was at first going to try a method of fabricating a countertop that I saw in one of my woodworking magazines a few months ago - but Karen liked the look of the floor so much, that she asked if it would be possible to use the same stuff for a countertop surface. I had enough of it left over. I had floor glue left over and I had enough 3/4" plywood for a substrate in the shop, so this request would cost me nothing extra to try. So I said what the heck and gave it a shot. It looks pretty good. How it holds up over time will be seen, though this room doesn't get a lot of traffic at all.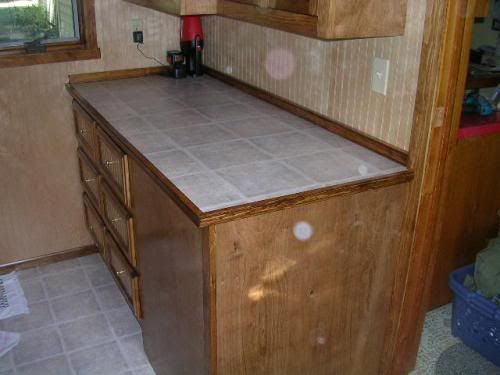
The pic below is of some of cabinetry that I build for the room. I was first going to make both sets the same depth. The back one in the corner of the room needed to be that deep (16" I believe) due to needing to hide the kitchen range exhaust hood ductwork. But to make the second unit that deep would have stuck out way to far into the room for my tastes. The closer cabinet in the picture conceals the water heater timer. I think the difference in the depths actually adds visual interest anyhow. You will noticed that the tops of the cabinets differ in widths. This is due to the angle of the roofline above the room. I had to configure this line to the tops of the cabinets as well. It all involved trimwork that hides the differences.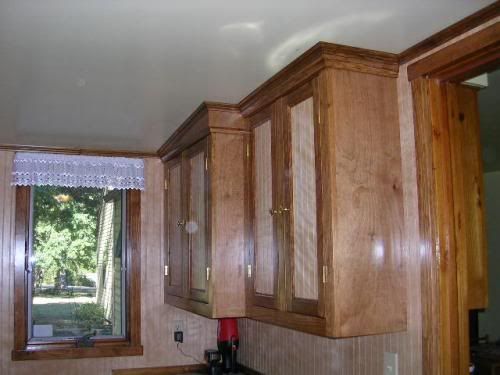
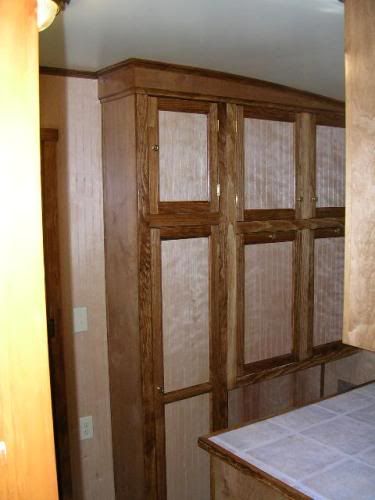
The two pictures below are of the wall storage unit that was a great addition to the room and gave us lots more storage capability. We recycle. Everyone should. I built two recycling bins into the storage unit and they tilt out as I am showing. One bin holds aluminum cans and the other holds both glass and plastic. The three top cabinet sections hold storage and will hold various items such as pots and pans, cat care stuff for our cats and storage for spring water that we buy, as well as other household sundries. The large (tall) cabinet is a broom closet that will also hold an ironing board.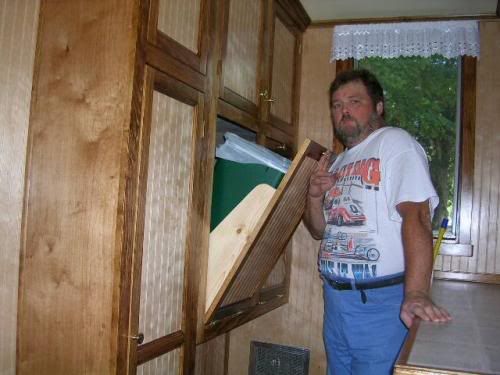
This was a great little project and one that will serve us well for a long time. It really did take a bit longer than I had imagined and planned (and wanted to!) but it's pretty much done now and it didn't really cost an arm and a leg to do.
posted by Fred @ 12:26 PM
![]()
0 Comments:
Post a Comment
<< Home