Woodworking Projects (Finally)
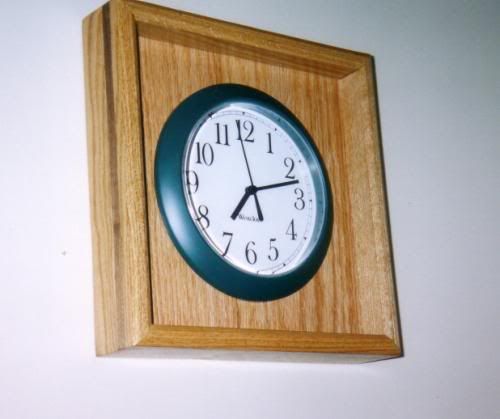
Since starting this blog, I have had a few people recommend that I post a feature showing some of the woodworking projects that I have completed here and there. I haven't gotten around to it, but again recently, I had a gentleman ask what kind of things I build in my workshop and I guess it's about time that I get around to getting these pictures available in the most convenient manner. I do have a small photo album that I try to keep updated. But sadly, I don't really keep it up to date and it's kind of a hassle to lug it around to show people. What follows is a sampling of some of the things that I have built. Below is a simple little project that I did just to keep busy. This was built out of red oak with a walnut inlay around its perimeter. The clock is a simple little twenty dollar clock - something like that. However, this was constructed a number of years ago when our house was hectic amid preparations for our son's graduation party. My wife was getting a bit harried and she told me to "get out of the way" - in no uncertain terms so I headed out to the shop and whipped this little creation out and it now resides on the wall in our family room.
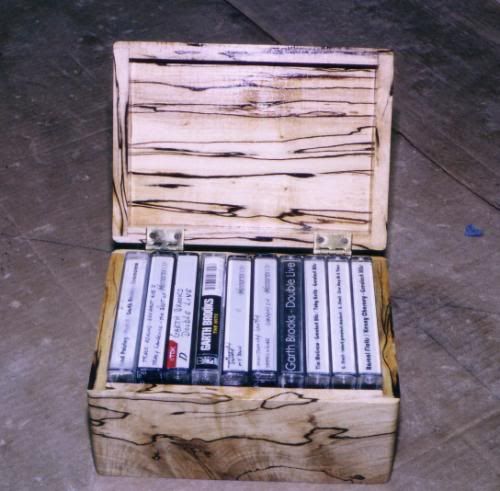
The picture below is a small cassette tape box that I built to keep music cassettes handy in my truck. The interesting figure in the wood is actually the beginning of the rotting/decay process. This process is called "spalting" and the particular wood in this case is maple. The dark lines in the wood is a fungus that begins the rotting and decaying process. You have to catch the process at it's beginning when it hasn't really begun to soften the wood. I found this particular wood while splitting firewood. That's right - it was destined to be burned in out wood stove, but I couldn't have that. I took it up to the shop and ran it through my bandsaw and made some small boards out of it and dried it over time and I beleive I still have some more of it up in the shop somewhere.
The story with the CD cabinet below is that a great many years ago, I was laid off from my job in construction and I had a lot of time to kill. This cabinet was constructed of scrap wood that was laying around the shop at the time. It was an interesting little project that sure was a bit tedious to do with having to cut all of the dado's in it to accomodate the CD's. I currently have plans to build another, much nicer cabinet for out in the bar room. A freind has asked me for this one when I no longer need it.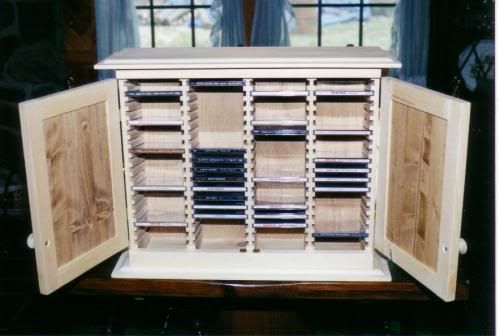
I have rarely built a project from plans. I usually design the stuff that I build from my own vision of what I want and go from there. This project below was different in that respect. My wife's Mom wanted this built for her for use as a coffer table. In reality, it's a bench, but it's size lent it to be used as a small coffee table. Built out of poplar, it was to be painted by her mom when she got it. Poplar is one of the better woods to use for potential painted projects since it takes paint so well.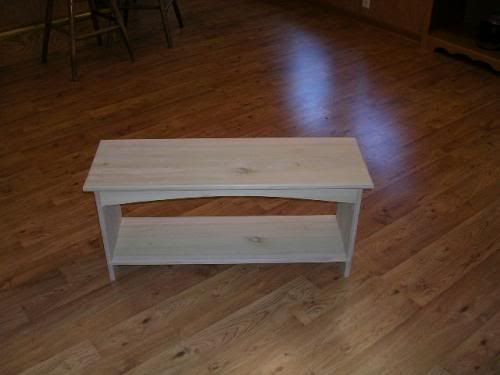
Well, on to bigger projects. The next handful of photos are of a six piece red oak bedroom set that I built over the course of maybe a year and a half or two. Not sure really. The photo below shows the 1st and 6th piece of the set. I started with the hutch and finished up with a beautiful armoir style dresser for myself. The dresser I had been using previous to this didn't have an "enclosure" as this one does up top. Why is that important? Well, with the numerous racing newspapers and monthly magazines of all sorts that I get, I had previously just stacked them all on top of the dresser and it was regularly an ugly pile. Now, they are stacked inside of one side of the upper portion of the dresser and out of sight. That equals a happy wife. And when the wife is happy - - I'm happy.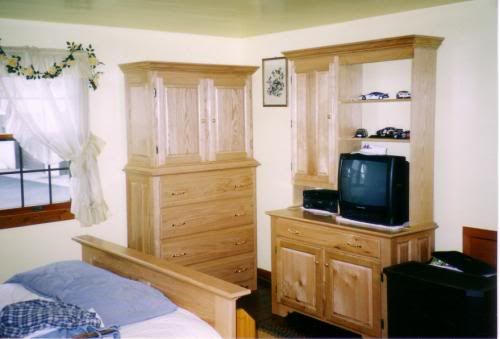
The bed was the next up after the hutch. I got the idea for this style of bed from a flyer from a local furniture store. The entire six piece project is of the raised panel style and the bed had the biggest panels of the project, both in the headboard and the footboard. Straddling each side of the bed you will see nightstands. And you guessed it, they were the next to be built in the project. 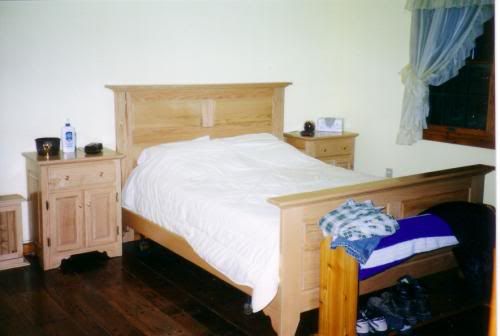
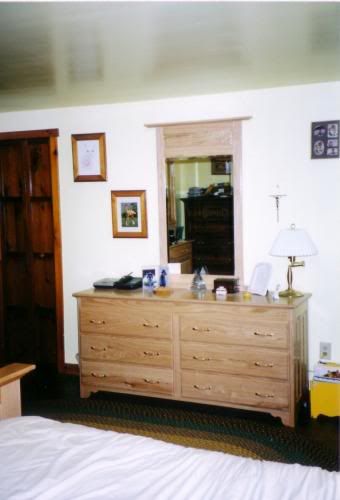
I actually wanted to build a more detailed dresser for Karen, but she opted for a simple design to go along with the rest of the set. I did work in an idea on the mirror that I had seen in a featured project in an issue of Wood magazine. A nice beveled edge mirror compliments the piece.
To finish off the bedroom project, I built these window shutters. Again, they are built from red oak, as the rest of the set was. These shutters were built using a jig designed by Norm Abram, or GOD, as he is known to many woodworkers. They were a blast to make, as was the jig, but they were a lot of work!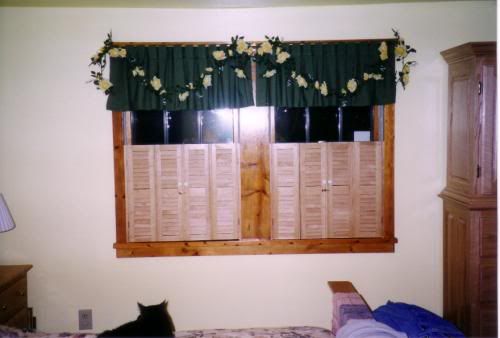
The wall unit below is one of my most recent projects. I built this while I was laid off recently and it really came out nice. Hangs behind the bar here at home in our bar room and it is really what I had been envisioning since I thought about what to do with this area about a year and a half or two years ago.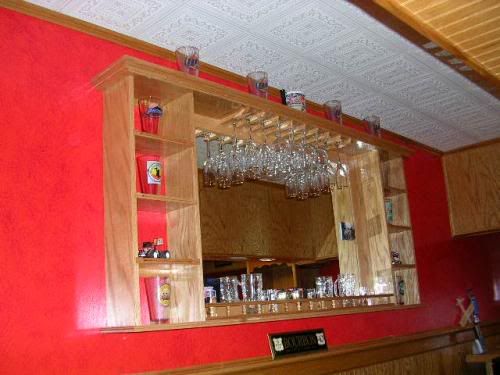
The potato bins below represent my first, and to date, only attempt at recreating something. The bin on the left of the photo is obviously the old one and was in pretty bad, but useable condition when it was found. Before I had built the oak bedroom set above, we had been using this four poster kind of canapy bed that I had built long before I had even had my wood shop. When I tore that down, I saved the wood and used some of it to recreate this potato bin to the right in the photo. An interesting project that encompassed some different things that I had never tried and it served a definite purpose for widening my skills in the shop. One thing I didn't copy from the old bin was the locations of the pulls. I liked them reversed from the old one.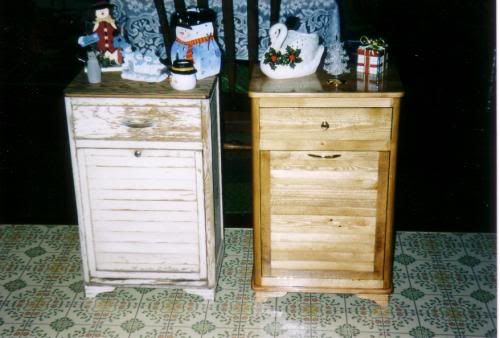
The bench below was something I built for some freinds of ours. Not a difficult project at all. Constructed of cedar wood that was originally intended for use as decking. It finished up so well, that I milled some of it down for use as lumber and this is the result of one of the projects.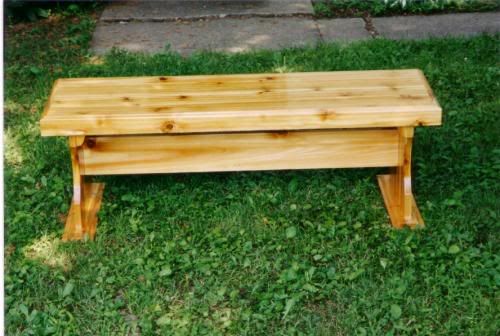
The two corner hutches below are something that my brother asked me to build for him. He and his wife were remodeling their dining room and wanted these two hutches for opposite corners of the room. Again, these are made of poplar since they wanted to paint them white. Some have asked why the raised panels on the bottom doors are already painted. That is because wood expands and contracts with the moisture content of the surrounding air. When you pre-paint the panels before constructing the doors, should they contract, you would not have the horribly ugly little strips of unpainted wood around the edges of the panels. The arched doors were the biggest challenge of this project. I had never attempted something like them. I had my idea of how to go about doing them, and in the end, it turned out great. But, I went into it not knowing that, so it was very rewarding mentally when it did. The upper cabinet features three moveable shelves and glass in the doors.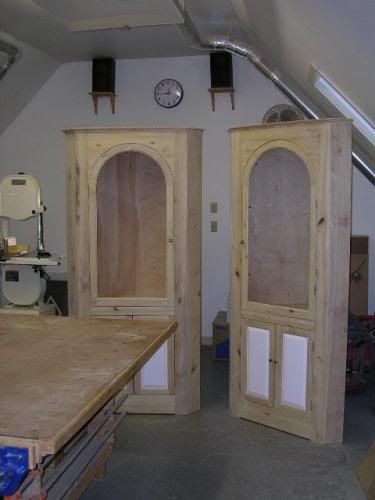
On to some outdoor projects. These arbors are, well, if you look closely, you can see clothes lines, so that would tell you that they are for that purpose. Built from clear cedar, they should last a very long time. We had grown tired of previous clothes line supports rotting, eventually leaning over and not staying plumb. These supports are well supported in the ground and should keep the wife happy for a very long time. I added the lattice in the middle and was a bit worried about it expanding to much in the hotter weather. Plastic does that. But apparently, I allowed enough room for it to expand and they are performing great.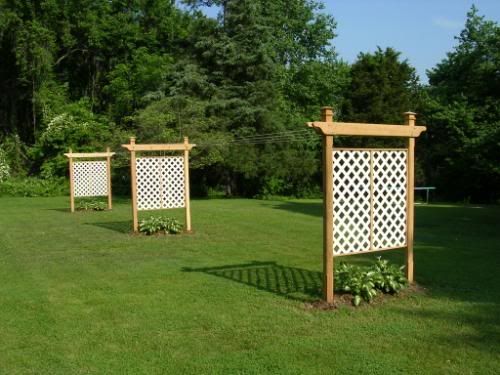
One of the supports is shown below with morning glorys growing up its lattice panel. Hostas compliment the ground area underneath all three of them.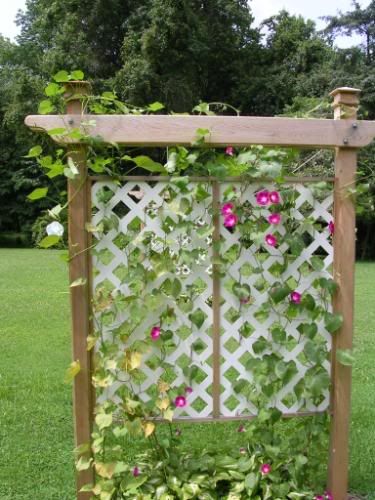
Finally, although not a strictly woodworking project, I consider this one more a carpentry project, this is a badly needed shed I built about three years ago. It houses a number of yard machines like my wood splitter, a pressure washer, my backpack blower and chainsaw among other things.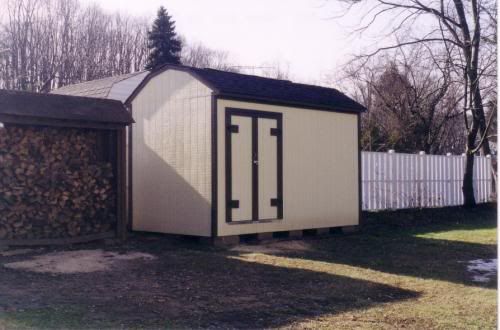


1 Comments:
There are a lot of full-color images, with thorough information of every factor of wood managing venture such as outstanding furniture applications.....
There is our web page for more details about our wood operating project check out here.
garden shed plans
garden sheds
garden storage shed
garden storage sheds
my shed
Post a Comment
<< Home